
How to Plan a Simple Video Shoot for Small Businesses
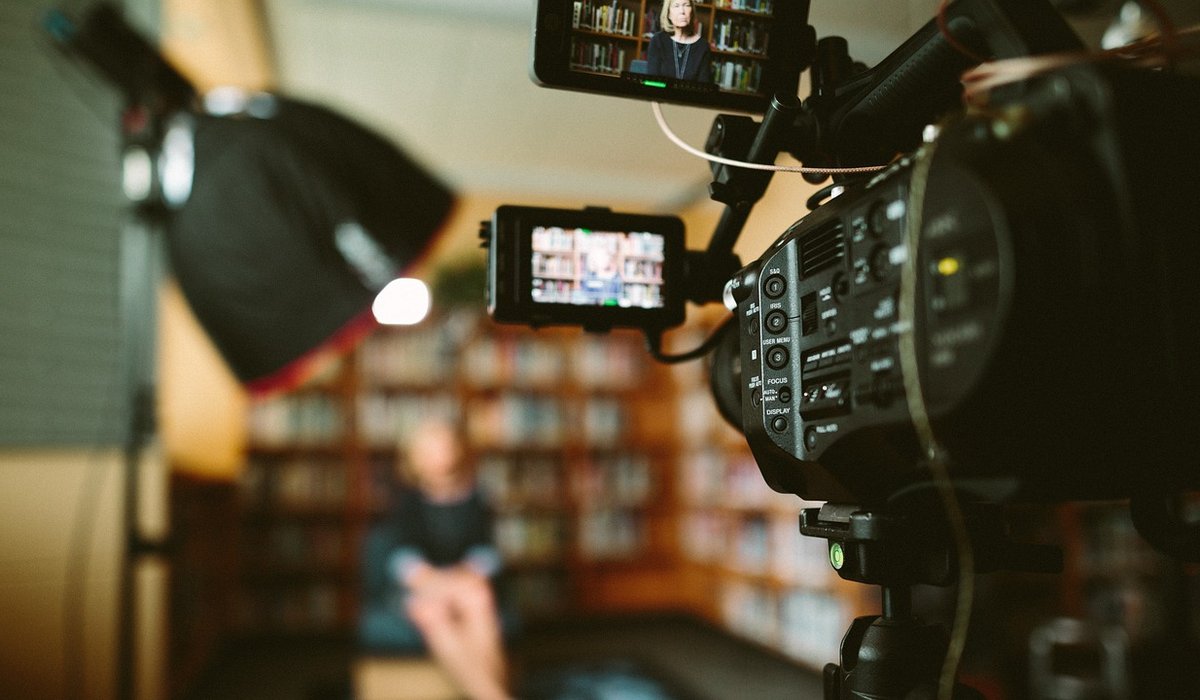
A video shoot does not need a fleet of vans or a three-day call sheet. What it needs is a clear plan. For small businesses and independent creators, the difference between a smooth day and a stressful one usually comes down to what you decided before anyone picked up a camera.
Start with your message
Before you think about lenses or locations, write down the one thing you want someone to remember. Not five things. One. A customer testimonial might be "this service saved me a week of admin". A product demo might be "you can set this up in ten minutes". Everything else hangs off that sentence.
Then decide who is watching and where they will see it. A clip for your website homepage can be slower and more polished. Something for social media needs to grab attention in the first three seconds. That decision changes how you shoot, how much you film and how long the edit will take.
- Write one sentence that sums up the video's purpose.
- Name the audience and the platform it will appear on.
- Decide the call to action — what should they do next?
Choose locations that do the heavy lifting
You do not need a studio. You need a space that supports the message and does not fight it. A bright room with a plain wall is often better than a cluttered office with beautiful furniture, because it puts the focus on the person speaking.
Walk around your location before shoot day. Look for distracting backgrounds, noisy appliances, and windows that will blow out the exposure or leave someone squinting. Outdoors, midday sun is harsh; early morning or late afternoon is kinder. In a working space, pick a time when the phones are quiet.
Keep the number of locations small. Every move costs setup time, travel time and energy. Two well-chosen spots are almost always better than five rushed ones.
Build a shot list that serves the edit
A shot list is simply everything you want to capture. It stops you from getting home and realising you never filmed the close-up of the product, or the wide shot that establishes where you are. For a simple business video, a handful of reliable shots will cover it:
- Wide shot — shows the space and sets the scene.
- Medium shot — the person talking, from the waist up.
- Close-up — hands, faces or product details that add texture.
- Cutaway — anything relevant you can drop in to cover an edit.
- End card shot — a clean frame for your logo or call to action.
Write the list in the order you plan to shoot, not the order it will appear in the edit. Grouping shots by location and setup saves a surprising amount of time. Film more cutaways than you think you need — they are the glue that holds an edit together.
Nail the audio before you worry about the visuals
Audiences will forgive a slightly soft picture. They will not forgive bad sound. If your subject cannot be heard clearly, the video has failed, no matter how good it looks.
Use an external microphone if you have one, even a modest lavalier clipped to a collar. Get it close to the speaker's mouth. In an interview, find a quiet room and listen for hums, fans and traffic before you press record. Always record thirty seconds of room tone — the ambient sound of the space with nobody talking — because it makes editing dialogue much easier. Headphones are not optional. Plug them in and listen as you record, so you catch problems while you can still fix them.
Write a realistic schedule for the day
Ambitious schedules are the most common reason shoots overrun. Be honest about how long things actually take. Setting up a camera, checking the frame and running a sound test can easily take twenty minutes per location.
A realistic half-day for a simple business video might look like this:
- 30 minutes — arrive, set up, test audio and exposure.
- 90 minutes — film the main interviews or presenter pieces.
- 60 minutes — capture cutaways, product shots and detail.
- 30 minutes — review key footage and pack down.
Build in a buffer. Something always takes longer than expected — a delivery arrives, the light changes, someone needs a second take. If you finish early, grab extra material. If you plan too tight, you will rush the shots that matter most.
Keep the kit simple and check it twice
You do not need a lot of gear, but you do need it to work. Charge every battery the night before. Format your memory cards. Pack spare cables, a tripod, gaffer tape and a cloth for the lens. Write a checklist and use it, even if you have filmed a hundred times.
On the day, give yourself permission to slow down. Check the frame, check the sound, check the focus, then roll. A calm, well-planned shoot produces better footage than a frantic one, and your edit will thank you for it. Planning is not the boring part of video production — it is the part that makes everything else possible.


Simple framing choices make interviews look professional. Use the rule of thirds, clean backgrounds and consistent eye lines to keep viewers engaged.
You do not need a professional booth. Soft furnishings, closed windows and a decent microphone can reduce echo and background noise.
A strong solo episode needs a clear beginning, middle and end. Outline your key points, add stories and finish with one useful takeaway.
Good interviews feel like chats, not interrogations. Prepare open questions, listen actively and allow comfortable silences to draw out better answers.